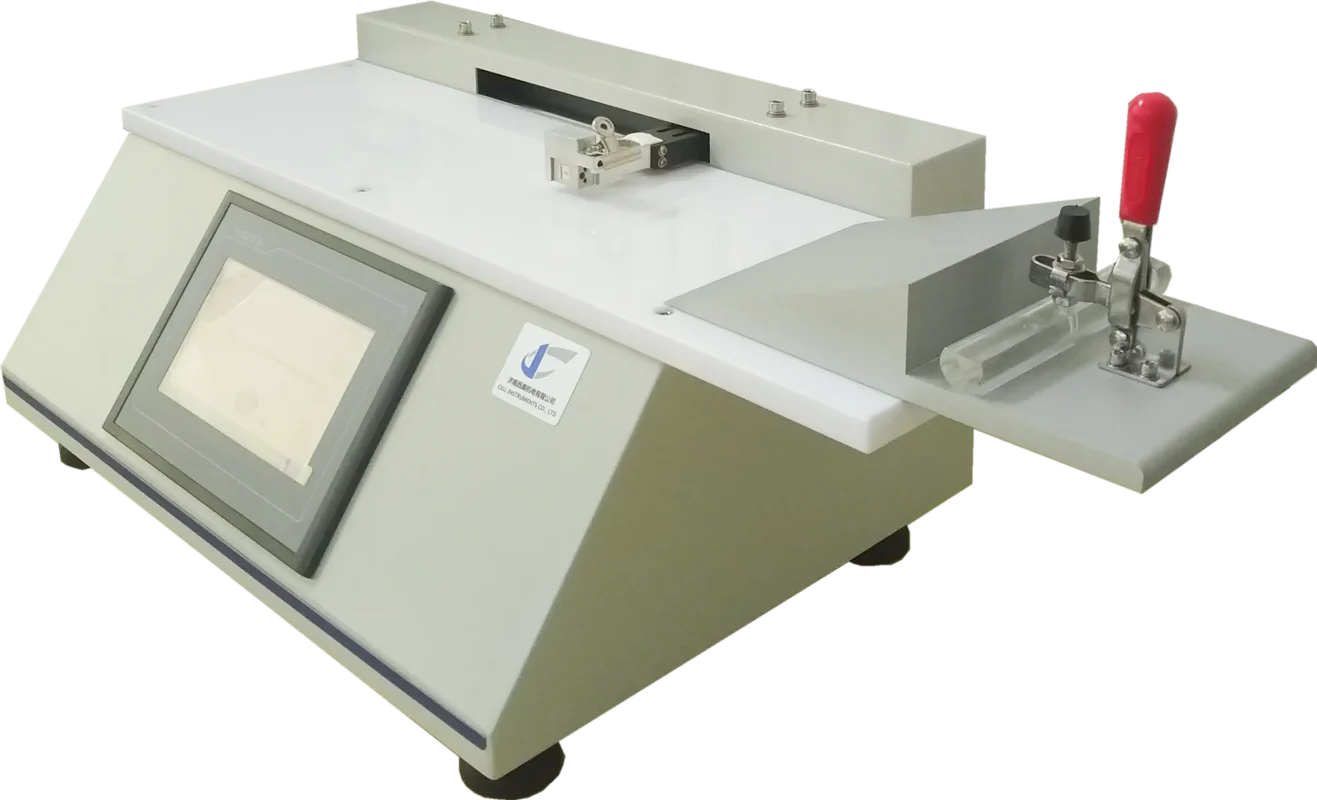
Place a 5 by 20 in. (127 by 508 mm) sample squarely on the incline face with its outside surface up. Tuck the film under the leading edge of the inclined bottom edge and clamp its one end. Then pull the unclamped corners back over the incline face to create a tight, smooth surface of film. A slight amount of stretching is acceptable.
Roll the free end of the film up on the rod to within 1 in. (25 mm) of the marks on the film. Elongate the sample, using the steel rod as the grip area, until the marks are aligned with the top edge of the incline. Move the rod down and through the clamps and clamp the film.
Take the corresponding 1 in. (25.4 mm) wide paper/ film/paper sandwich sample and slide the paper to expose about 0.5 in. (12.5 mm) of film.
With the “outside” surface up, place this exposed film section on the incline film sample and at the top of the incline. Align it so that the remainder of the sample, with paper still in place, will lie between the parallel guide lines that run the full face length of the incline.
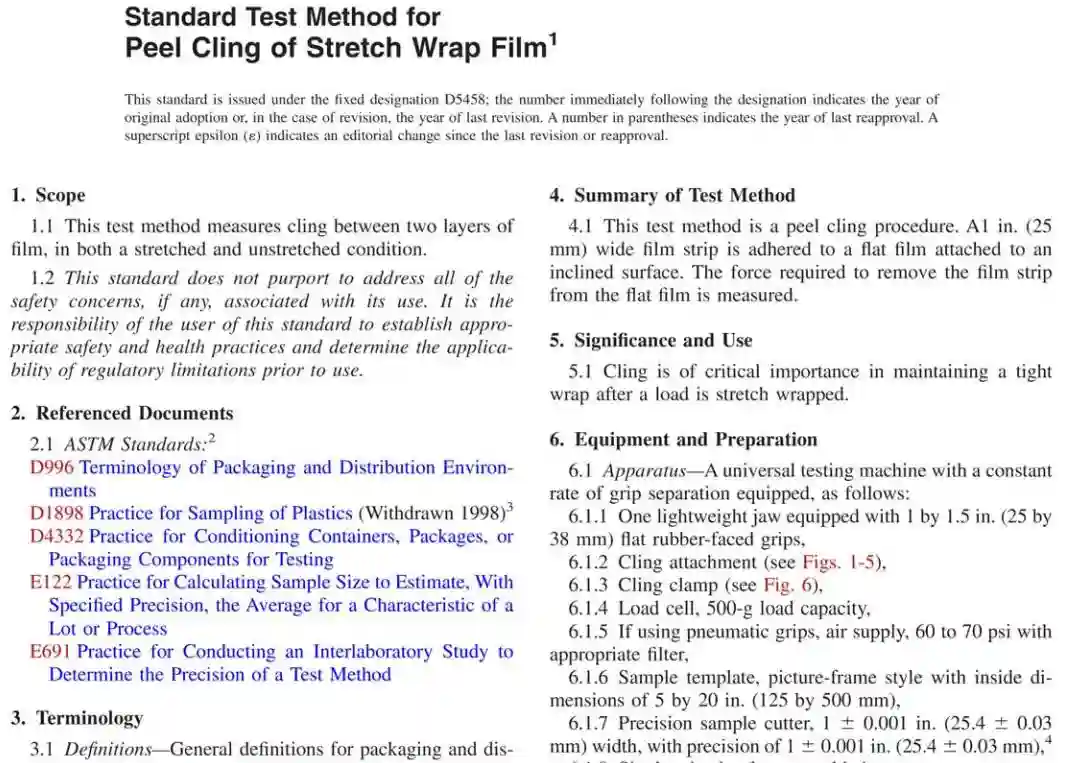
Brush the exposed end down with moderate pressure. Grasp the opposite ends of the paper and gently pull the paper away from the film creating a smooth contact surface with the sample still properly aligned. Using the wide side of the brush and moderate pressure and speed, brush the length of the 1 in. (25 mm) sample with three strokes.
Roll the lower end of the 1 in. (25.4 mm) sample and insert it in the film clip.
Start the tester with crosshead speed for 5 in. (125 mm/min) to separate the samples.
The tester will automatically record the maximum cling peel force during the test and then returns the clip for another test.


